| Route Name |
Formation  |
|
|
Review |
|
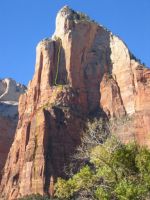
| Woods Route
II 5.11, Ataxia Tower, Tunnel Wall
Photo:Bryan Bird |
|
Ataxia Tower, Tunnel Wall |
2 |
II 5.11 |
|
|
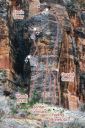
| Cave Dweller
II/III 5.10, Ataxia Tower, Tunnel Wall
Photo:Bryan Bird |
|
Ataxia Tower, Tunnel Wall |
4 |
II/III 5.10 |
|
|
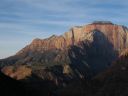
| Hejira
IV 5.10, Ataxia Tower, Tunnel Wall
Photo:Bryan Bird |
|
Ataxia Tower, Tunnel Wall |
5 |
IV 5.10 |
|
|
|
Beehives |
1 |
5.10 |
|
|
| Hans
5.10, Beehives
Photo:Bryan Bird |
|
Beehives |
1 |
5.10 |
|
|
|
Beehives |
1 |
5.10 |
|
|
| Parlay
5.11 A0, Beehives
Photo:Bryan Bird |
|
Beehives |
1 |
5.11 A0 |
|
|
|
Beehives |
1 |
5.11+ |
|
|
|
Beehives |
1 |
5.10+ |
|
|
|
Beehives |
1 |
5.12c |
|
|
|
Beehives |
1 |
5.12 |
|
|
| Frans
5.11, Beehives
Photo:Bryan Bird |
|
Beehives |
1 |
5.11 |
|
|
| Unknown
5.11, Beehives
Photo:Bryan Bird |
|
Beehives |
1 |
5.11 |
|
|
|
Beehives |
1 |
5.10+ |
|
|
| Unnamed
5.11, Beehives
Photo:Bryan Bird |
|
Beehives |
1 |
5.11 |
|
|
|


